

The clue’s in the title, but today we are going to show you how to carve a pumpkin with our pumpkin stencil printable! I’ve always been keen to improve my pumpkin carving skills, but never really managed to get the hang of it. Not being a hugely arty person, or maybe it’s just my hand control, my pumpkins always end up looking pretty mangled and not at all how my children expect them to look! So this year I decided we should make some pumpkin stencil printables for Mrs Mactivity, in the hope that this will a) help other people and b) help me! If you want to download our Pumpkin carving stencils, they are available here.

What you need:-
- a large pumpkin
- pins – drawing pins are fine
- washable pen
- some sort of cutting tool – you can use pumpkin carving tools
- something to scoop the seeds out with – we used a large spoon
- tealights and matches
The first thing you have to do is buy a pumpkin! In my opinion, the bigger the better, and we bought ours in Aldi for £1.99. One year we were a bit keen and bought our pumpkins way too early, unfortunately this meant that they had gone totally mouldy by the time Halloween came around. Big mistake! This year we usually carve them about 7 days before Halloween, that way, we have time to enjoy them and admire our pumpkin carving skills before Halloween itself.
Where we live, the pumpkin is a sign that you are participating in Halloween, and if a house does NOT have a pumpkin outside, that gives the signal to kids that the people living there will not be handing out sweets and treats. We always put our pumpkin outside our house, to welcome children to trick or treat, but we are usually out trick or treating ourselves when they come round! This does have the benefit of course, of leaving us with plenty of sweets and chocolates by the end of the evening.
Anyway, back to the pumpkin stencil. Cut the top off your pumpkin and using a large spoon or pumpkin scoop, get rid of the seeds and pulp inside. Scrape all the stringy bits out until you’re left with a nice smooth surface.

You need to print out our pumpkin carving stencil printable first, or just choose the stencil you want and print one page. Choose draft quality for this as you are only going to throw it again, and it prevents waste of ink. Cut around the stencil, and pin it to the flattest side of the pumpkin using your pins. Then start to pin on the lines of the template, we actually used too many pins I think, and there’s no need to press them in all the way like we did, it just makes it harder to get them out!

When you’re done pinning, you can remove your template. It might be worth keeping it for a little while longer so you can double check your design as you carve. If you want you can join the dots with a washable pen. I didn’t bother.

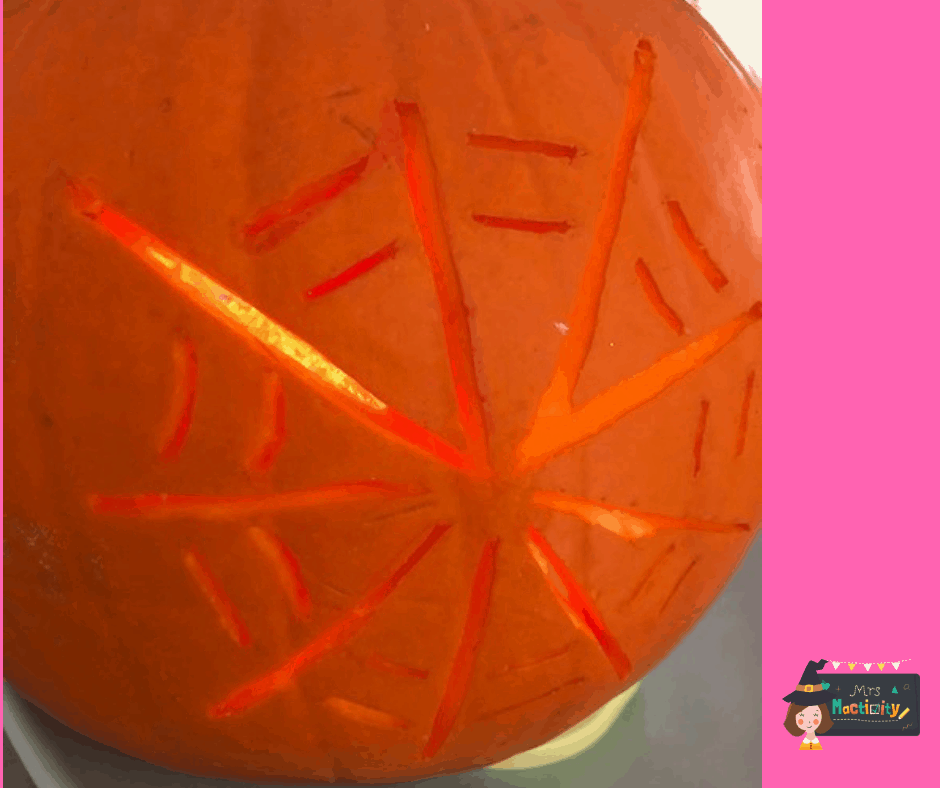
Something important to note is that you are not just cutting down the lines as this won’t create enough of a gap for the tealights to shine through. You need to cut two lines on either side of the dots.
I was actually surprised how easy this was, it was nowhere near as tricky as I was expecting it to be! Remember that the cutting element is an adult only aspect of the pumpkin design, but the rest of the process you can be “helped” by children – just watch out for those drawing pins.
Just light the tealights and add the pumpkin lid and you’re done!

For more Halloween crafts ideas take a look here. For Halloween printables take a look here.
