
It’s Easter time – and we’ve lots of Easter craft cards to choose from – but if you want to make your own, we’ve got some instructions for you to follow to make the best and easiest Easter card EVER! You can choose to either download our Easter pop up card template – DOWNLOAD HERE – or you can draw your own designs and use plain card. The choice is yours!
How to make a DIY Easter Card
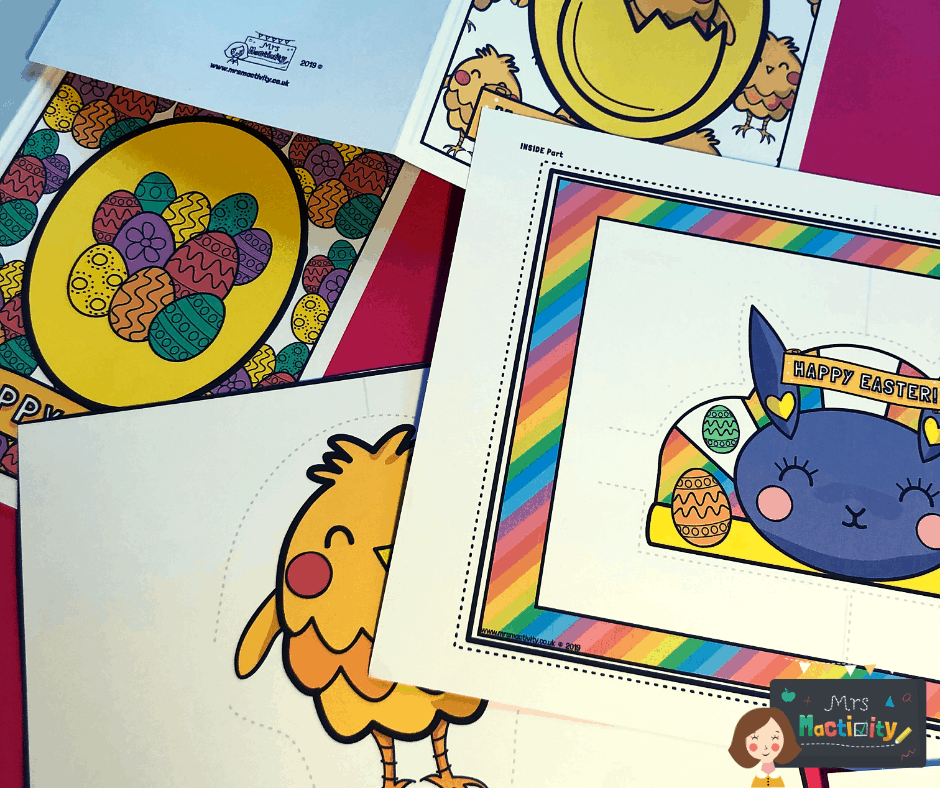
What you need:-
- A4 card, either white or coloured – depending on what you have or prefer.
- A4 paper
- Scissors
- Glue
- Our Easter card printable available to download here.
First of all, get everything you need together in one place, if you are using our template, simply fold it down the middle. If you are doing your own version, decorate the front of your card then fold it down the middle so it’s in a normal card shape. This will be the OUTER section.
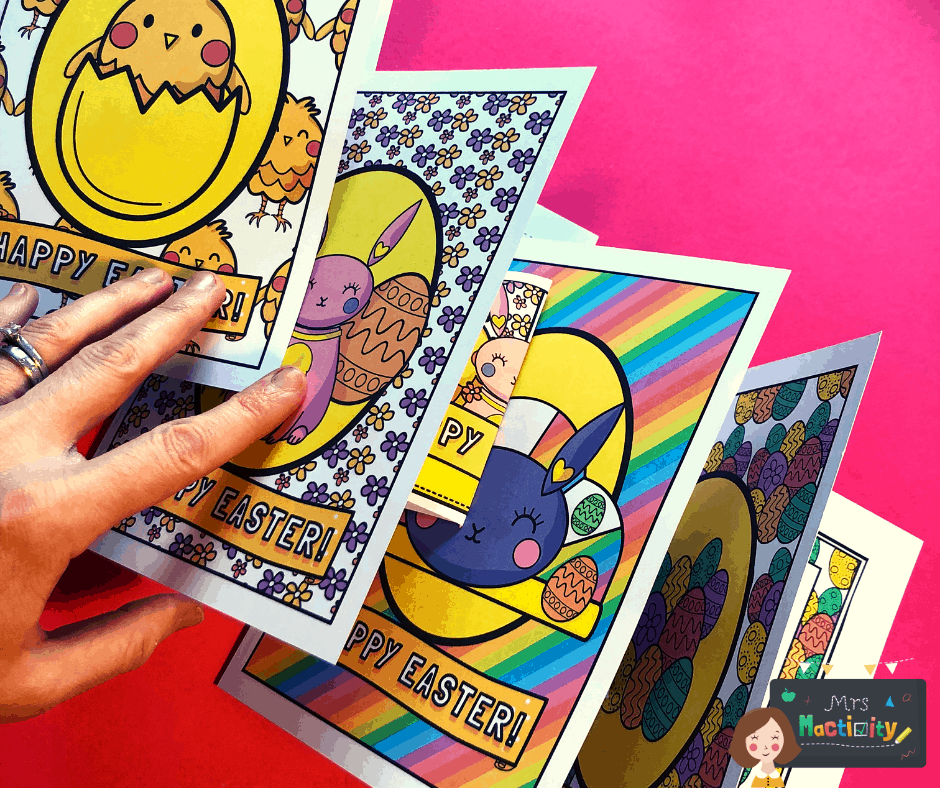
In this photo you can see a few of the adorable card designs you can choose from.
Choose your pop out insert, or draw your own, then add dotted lines around the outside, remembering to leave one part on either side of the picture undotted – that part won’t get cut out.
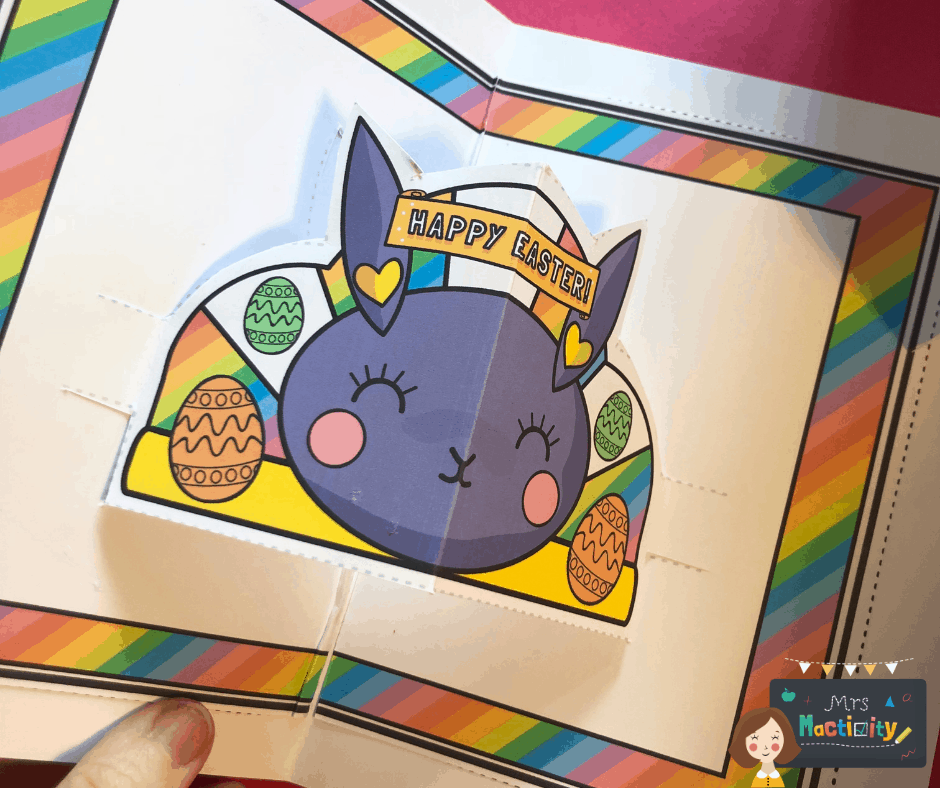
When you’re ready, fold the inner section OUTWARDS so that the chick or bunny shape is on the outside of the fold. Then cut at the top and bottom where the dotted lines are, and carefully cut around the shape, remembering NOT to cut where the dotted lines stop.

When you have cut your pop up, turn the inner section over and glue around the edges – remember not to glue the pop up section though. Then stick it to the inside of the outer section.

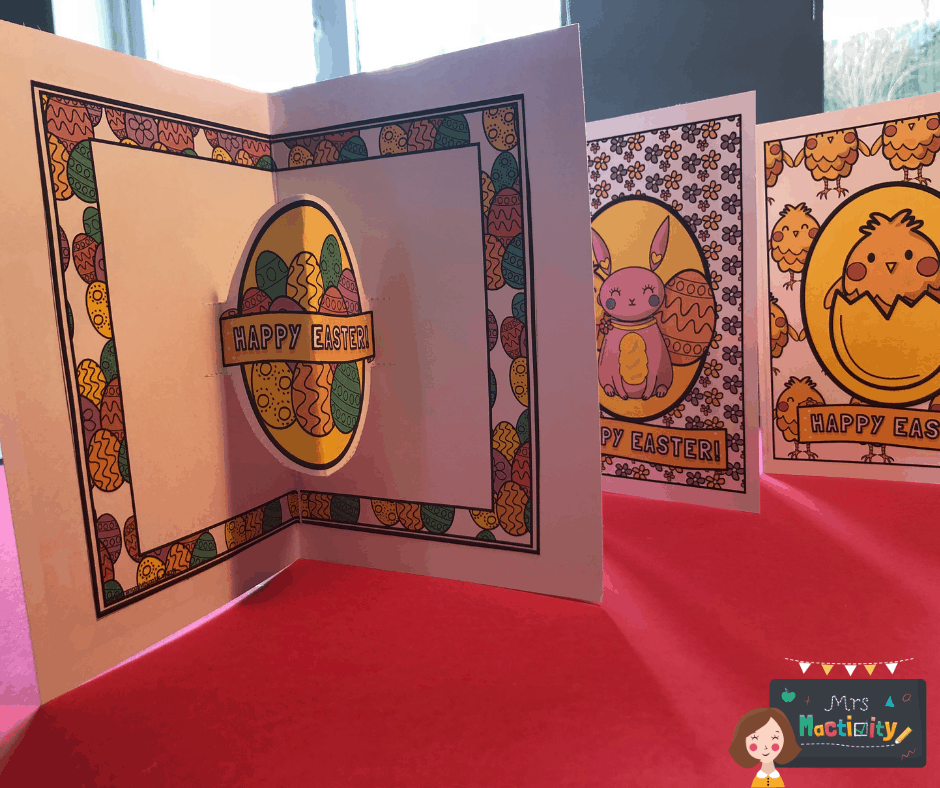
When it’s all stuck on – you are almost done! If you want to decorate your card further and write a little message inside – now is the time!
There you have it! Super easy Easter pop up card that anyone can do!
Remember to explore the rest of our Easter activities too.
Not a member of Mrs Mactivity yet? Join today!
